使用vscode+github+cloudflare简约博客搭建
写点生活即可

用来写点小东西(清爽一点)
部署
1.克隆仓库
在代码编辑器(以vscode为例)
ctrl+i打开终端,新建空目录
1 |
|
进入该目录
1 | cd sblog |
克隆仓库过来
1 |
|
1 |
|
进入目录
1 | cd simpleblog |
2.安装依赖
1 |
|
1 |
|
OK,这就好了,现在就可以开始写博客了
3.新建博客
1 |
|

npm run new后显示请输入博客标题,回车后使用键盘 :arrow_up: :arrow_down:进行选择
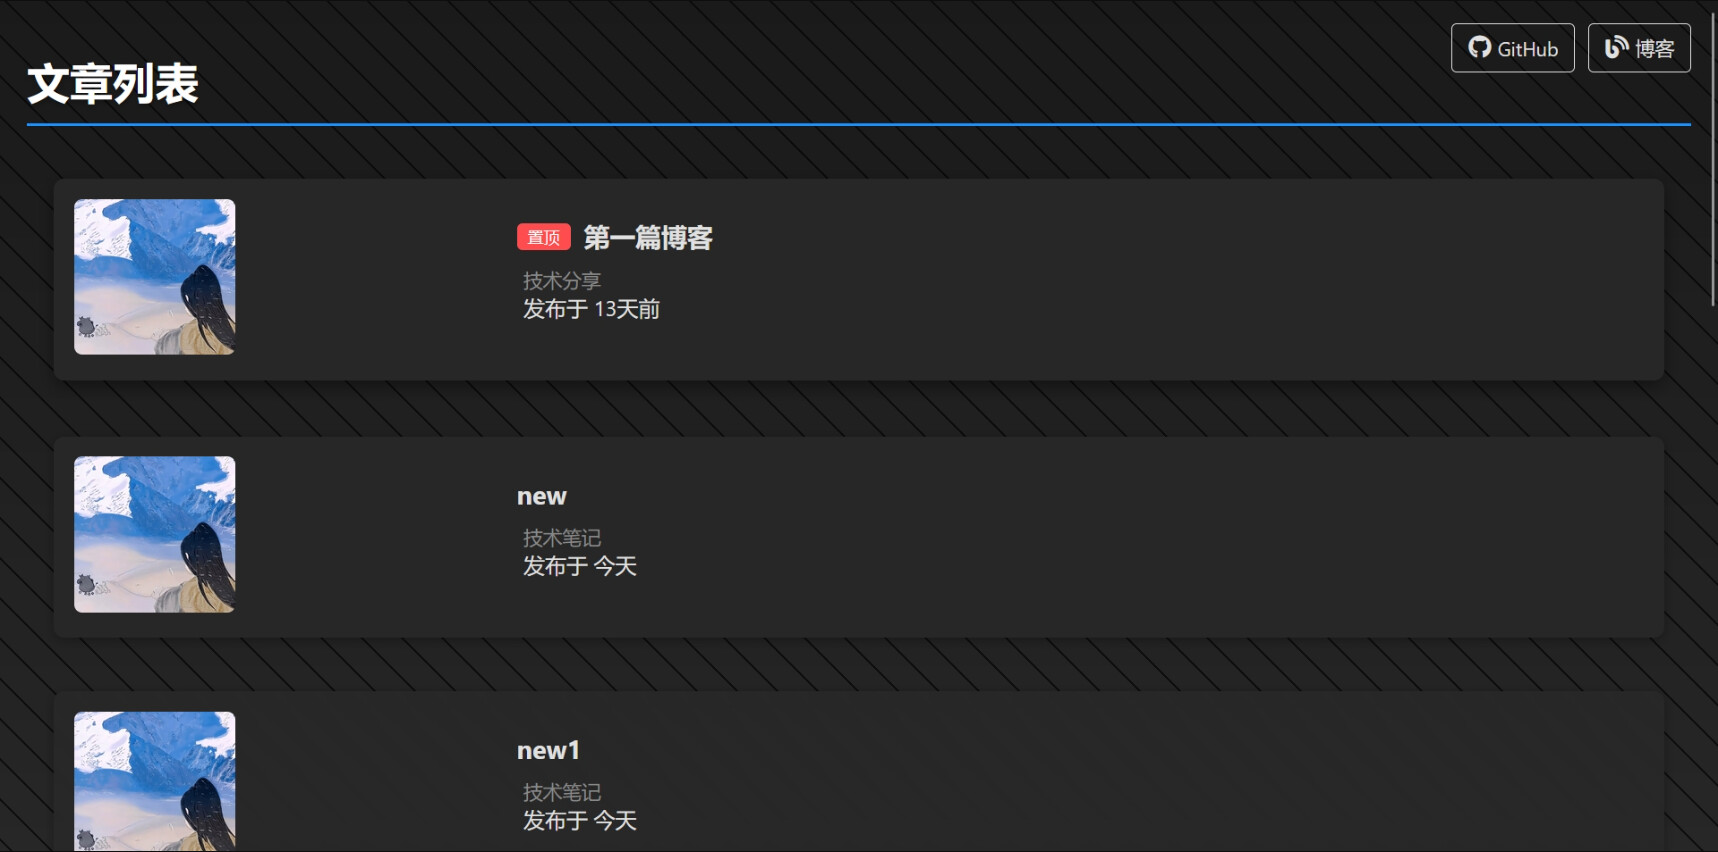
然后可以选择封面图片(上面博客列表看)
再选择优先级大于1则置顶
4.本地生成预览
1 | npm run preview |
如果要修改直接在博客文件修改后在浏览器刷新显示即可
5.推送github仓库
这里我没有在框架里面加那些东西,比较麻烦,就直接采用最原始的方法了
我懒
你可能会用到
1 | git clone git@github.com:2005zs/simpleblog.git//https不通的时候,用ssh来clone |
建议使用ssh克隆和推送,https的反正我是经常不行 :sweat_smile: :sweat_smile:
6.推送仓库后可选cf或github的pages部署
部署到github的pages
1.请将仓库命名为 username.github.io
2.请到Actions->Pages->Static HTML,然后config,然后会帮你生成static.yaml,然后点击Run workflow,然后会自动部署到github pages,成功后访问name.github.io即可
部署到cloudflare
cloudflare账户链接github
在构建设置中输入构建命令
1 |
|
保存部署即可